The Woodworker Sessions - #1 - Theunis Fick of Scarborough, Cape Town
Welcome to the Rare Woods South Africa Woodworker Sessions interview series. Here, we hope to discover more about what makes our woodworkers tick, how you became involved in the craft, how and why you build your pieces and maybe learn a few secret techniques and tips along the way!
Our interviewer, a woodworker since the age of 8, Tobias Lochner is no stranger to the workshop. Find out more about him here.
In our 1st issue of The Woodworker Sessions South Africa, we chat to up and coming young Cape Town luthier, Theunis Fick.

Question #1
Tobias: Hi Theunis. Please could you tell us a bit about yourself, what is/was your career, a little about your family and how you became a woodworker?
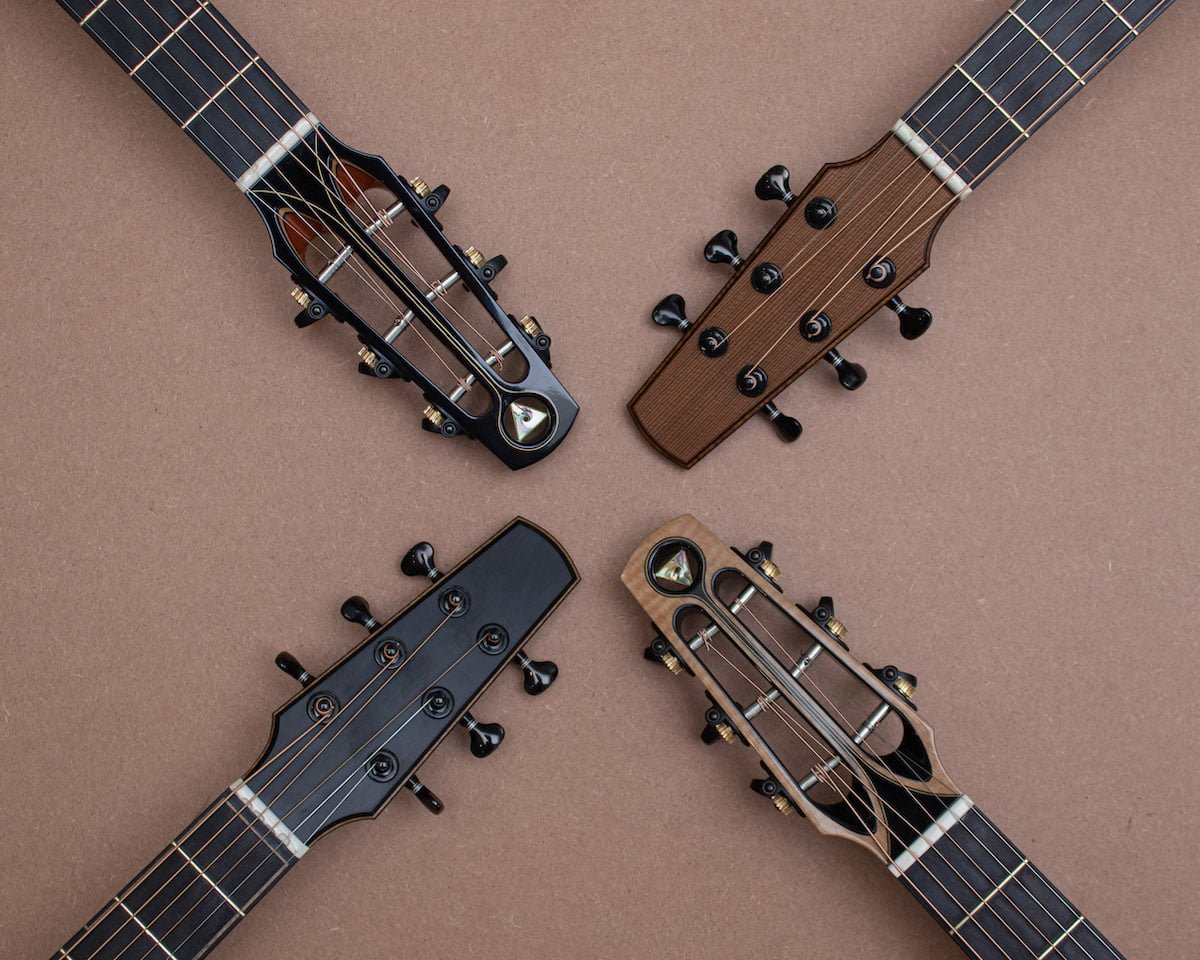
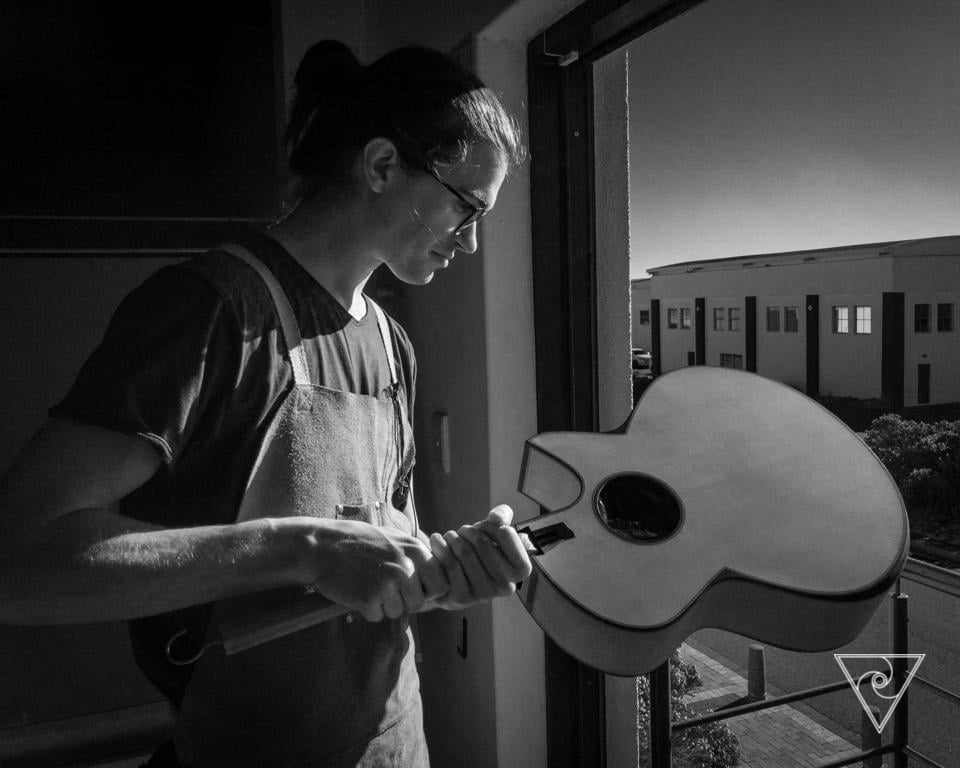
Theunis: Hi Tobias, thank you for the opportunity to share a little bit about my work. I’m 29 years old and I build steel string guitars from my one-person workshop in Scarborough, where I also live.
My focus is on building guitars for the high-end market, mostly for export to America and Europe. I also do some guitar repair work and teach a guitar building course of Saturdays. I only recently completed my apprenticeship at Casimi Guitars in Muizenberg, so my business and career is still very much in the fledgling phase.

Question #2
Tobias: How did you get started doing woodwork and how long have you been a woodworker?
Theunis: I discovered woodworking relatively late in life, it wasn’t something that I encountered much during my childhood. After high school, I studied civil engineering, though at the time my ambition was to become a musician and I was playing the guitar pretty seriously at the time. Towards the end of my studies, I had a freak tripping incident, in which my favourite guitar landed awkwardly and had its neck snapped clean through the heel!
I contacted the first repair person I could find, who happened to be Matthias Roux at Casimi Guitars. When I took the guitar in, they were busy teaching a guitar-building class and I signed up immediately!
That course was my first introduction to woodwork of any kind. I fell in love with the craft on the first day of class and guitar-building quickly consumed all of my waking thoughts. The start of the course corresponded with the start of my career in corporate engineering, a job I never found to be particularly rewarding. I studied at Casimi on Saturdays over a period of three years whilst working as an engineer, during which time I completed two guitars. At that point, I had decided to become more immersed in guitar-building, so I quit engineering and went to Michigan in the USA to complete a six month intensive course at Bryan Galloup’s guitar-building school. That course gave me the confidence to pursue a full time career in guitar-building. When I returned to South Africa, I started an apprenticeship at Casimi Guitars which lasted for about two years.
The apprenticeship was quite informal and mostly involved upgrading the Casimi workshop facilities in exchange for access to the equipment and a couple of days per week to work on my own projects. I started building guitars under my own name while I was stationed in the Casimi workshop and this gained traction to the point when I felt ready to start up my own operation.
I decided to move out to Scarborough, where I turned half of my house into a workshop. It has been an exciting journey so far and it feels like I am only just getting started!


Question #3
Tobias: What was the first item your ever made and which is your favourite piece?
Theunis: The first thing I ever built was the guitar I made on the Casimi course. My first love is 1920’s acoustic blues music, so when I got the opportunity to build a guitar, I designed something that was heavily influenced by the small-bodied guitars of that era. For some reason, I also thought that it would be a good idea to make it a 12 string…it wasn’t a good idea! The instrument had an Italian Spruce top and East Indian Rosewood back and sides, Honduran Mahogany neck and Macassar Ebony trim. That first course was an incredible experience, but the guitar was an abomination (at no fault of my excellent teachers). The guitar has been hidden away in a cupboard since I finished it and it’s unlikely to ever come back out!
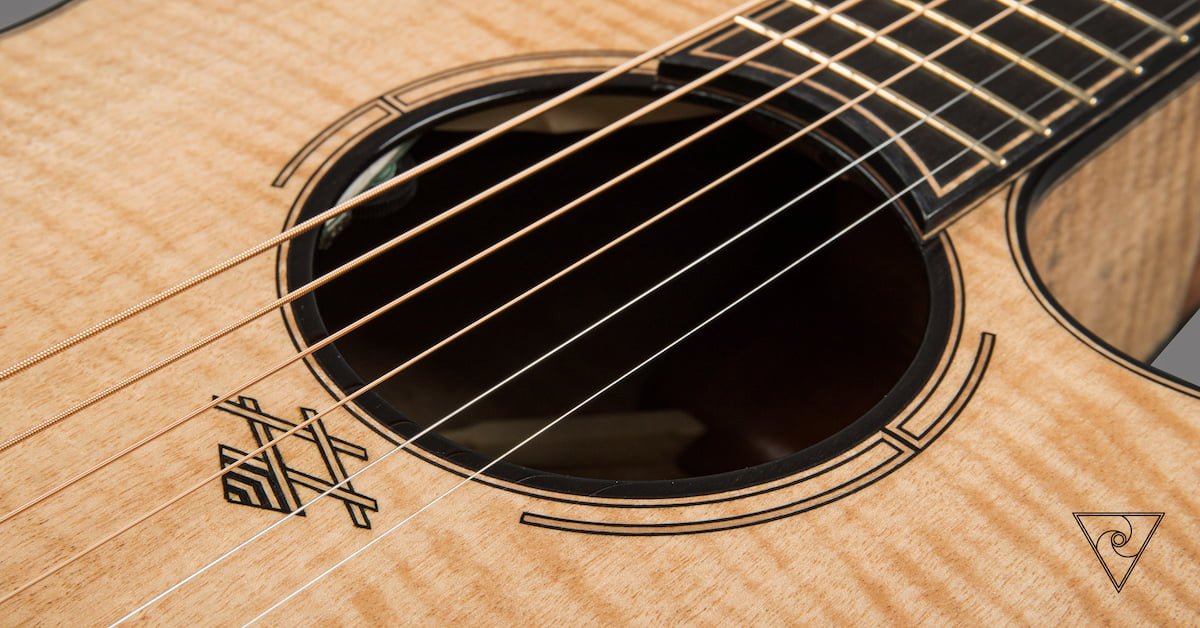
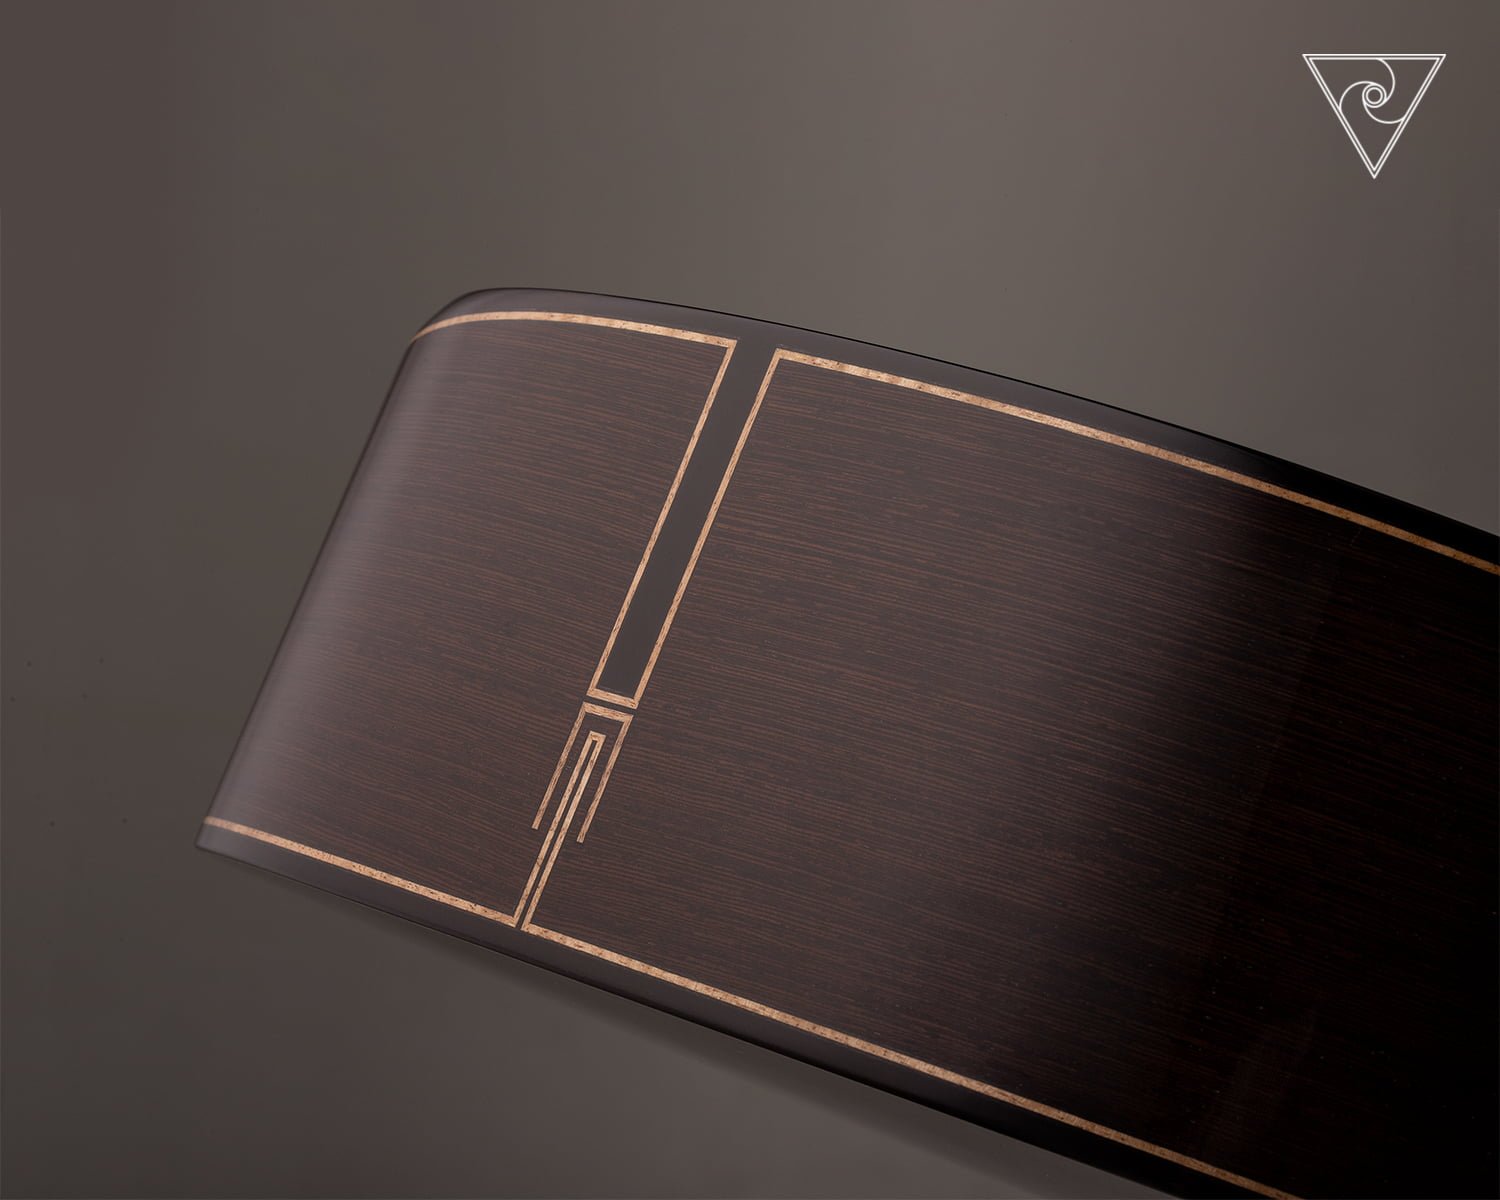
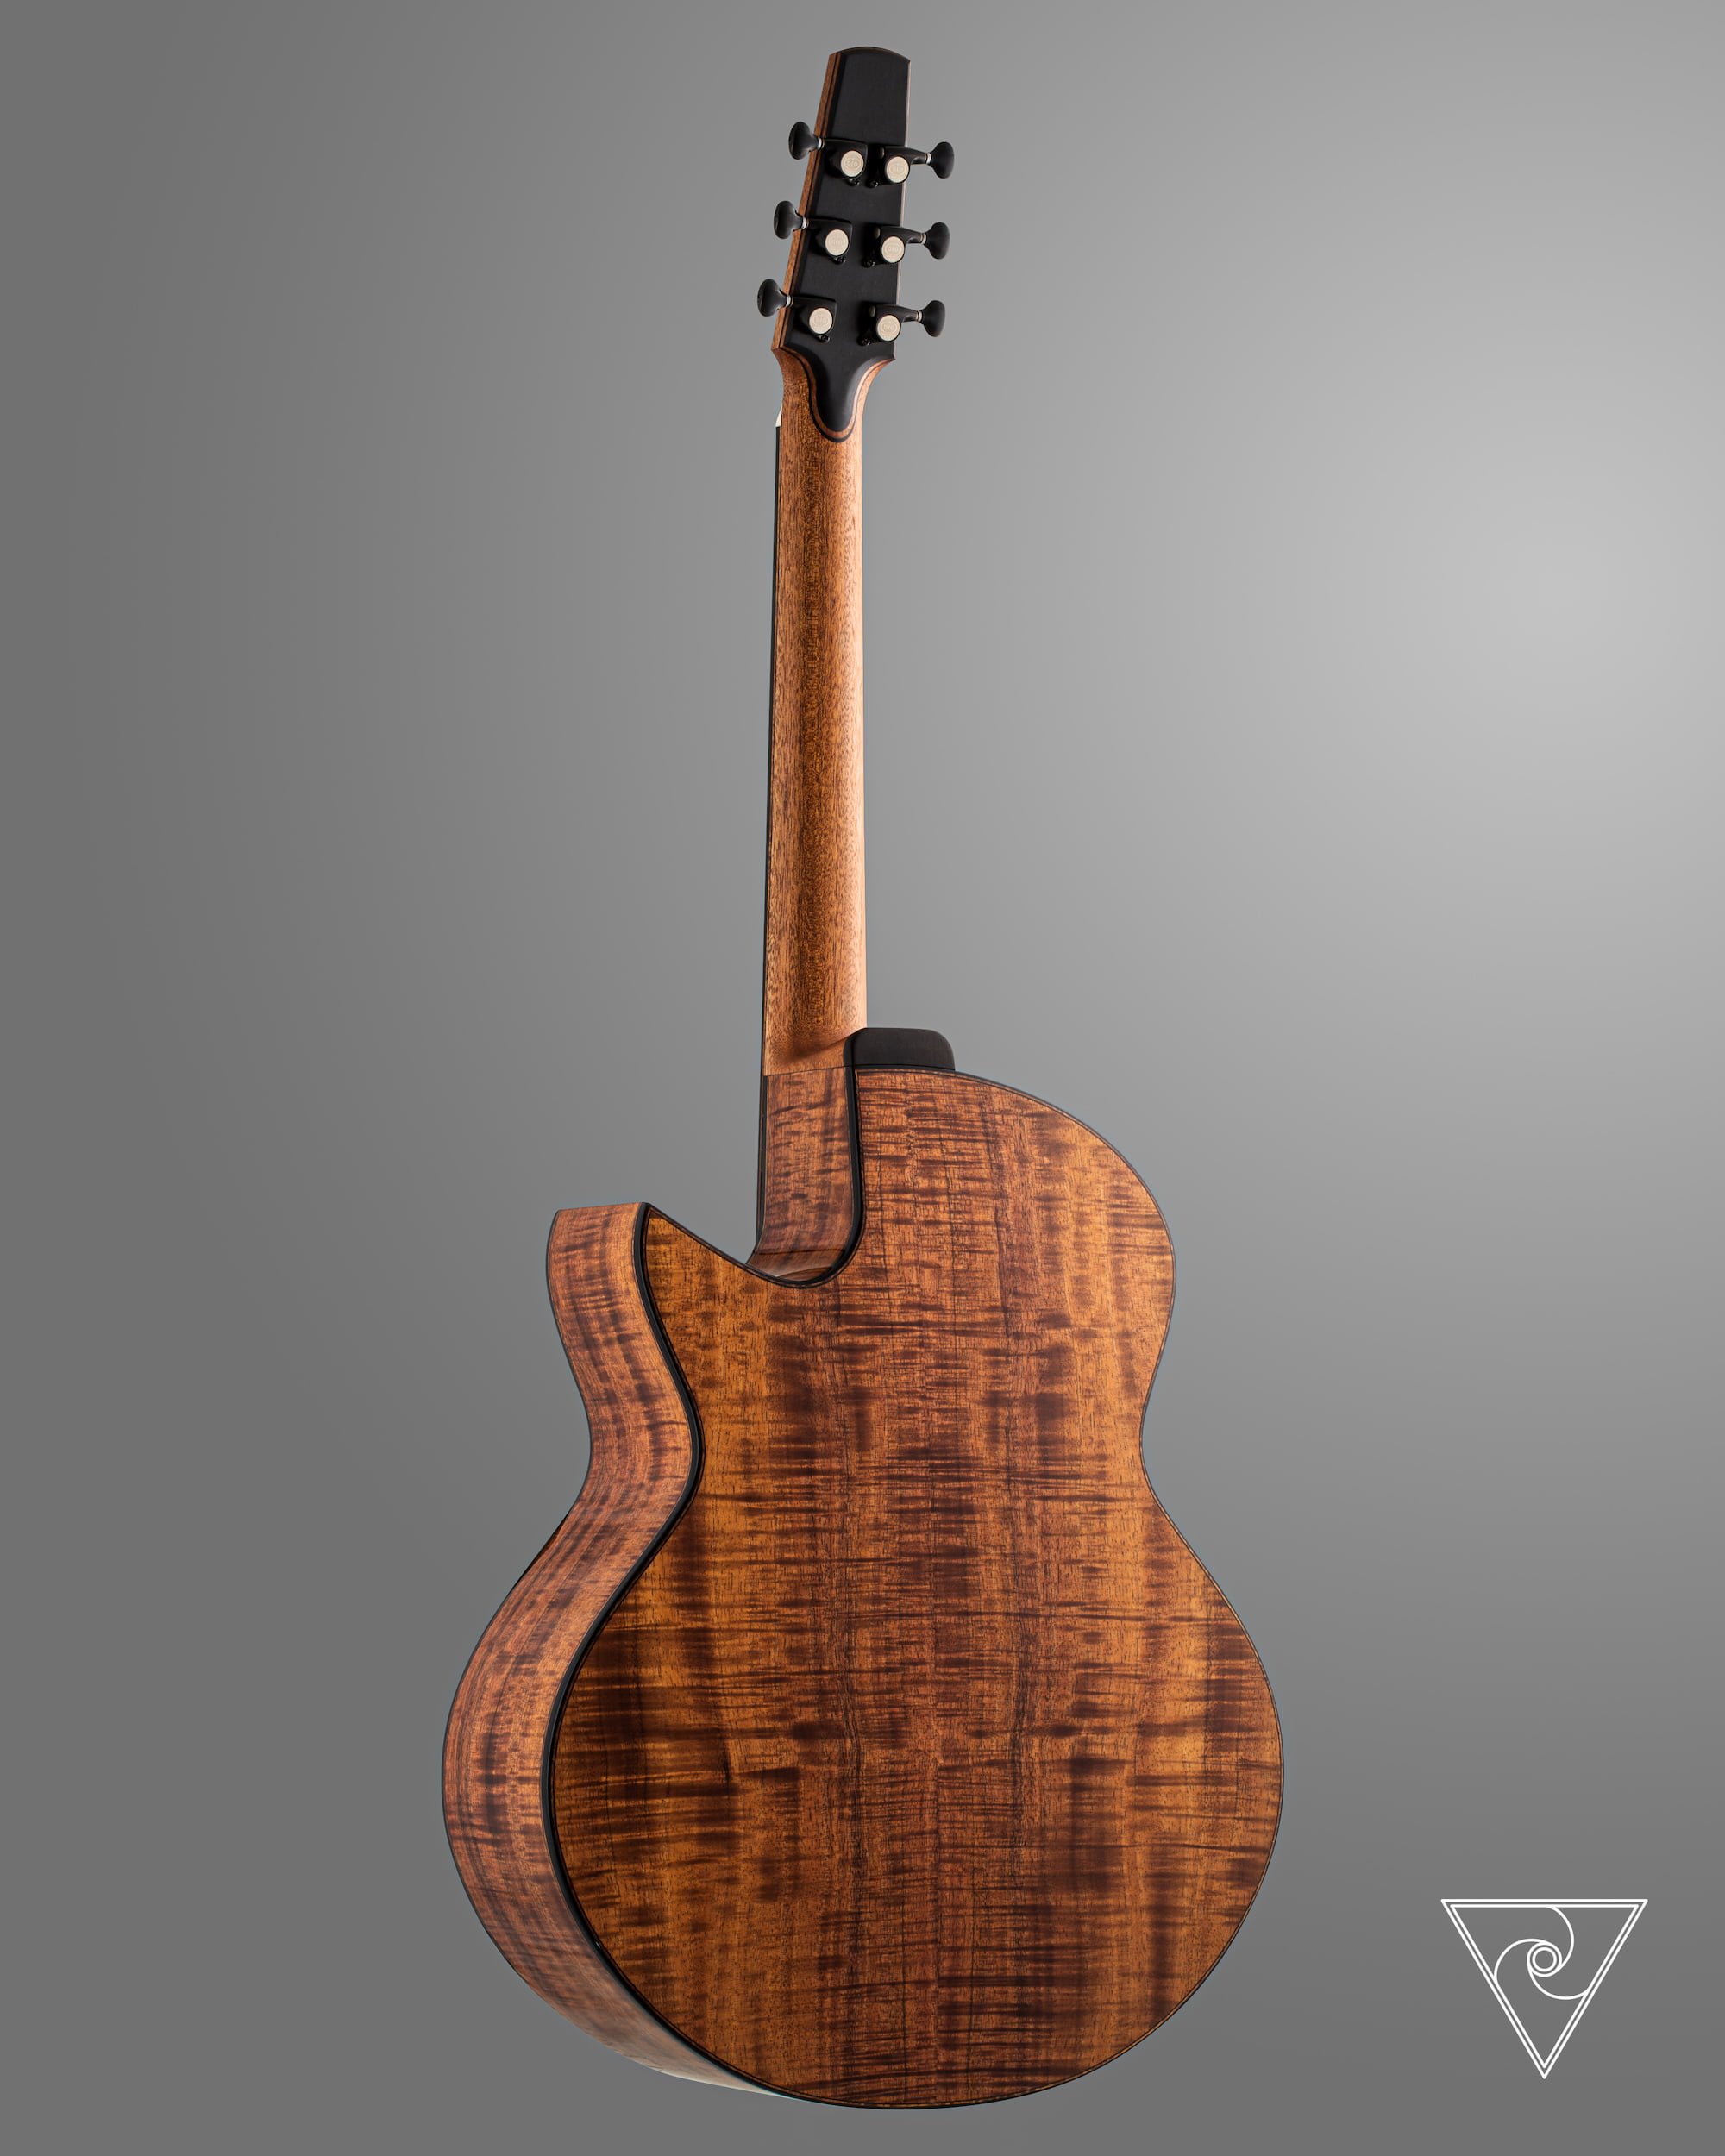
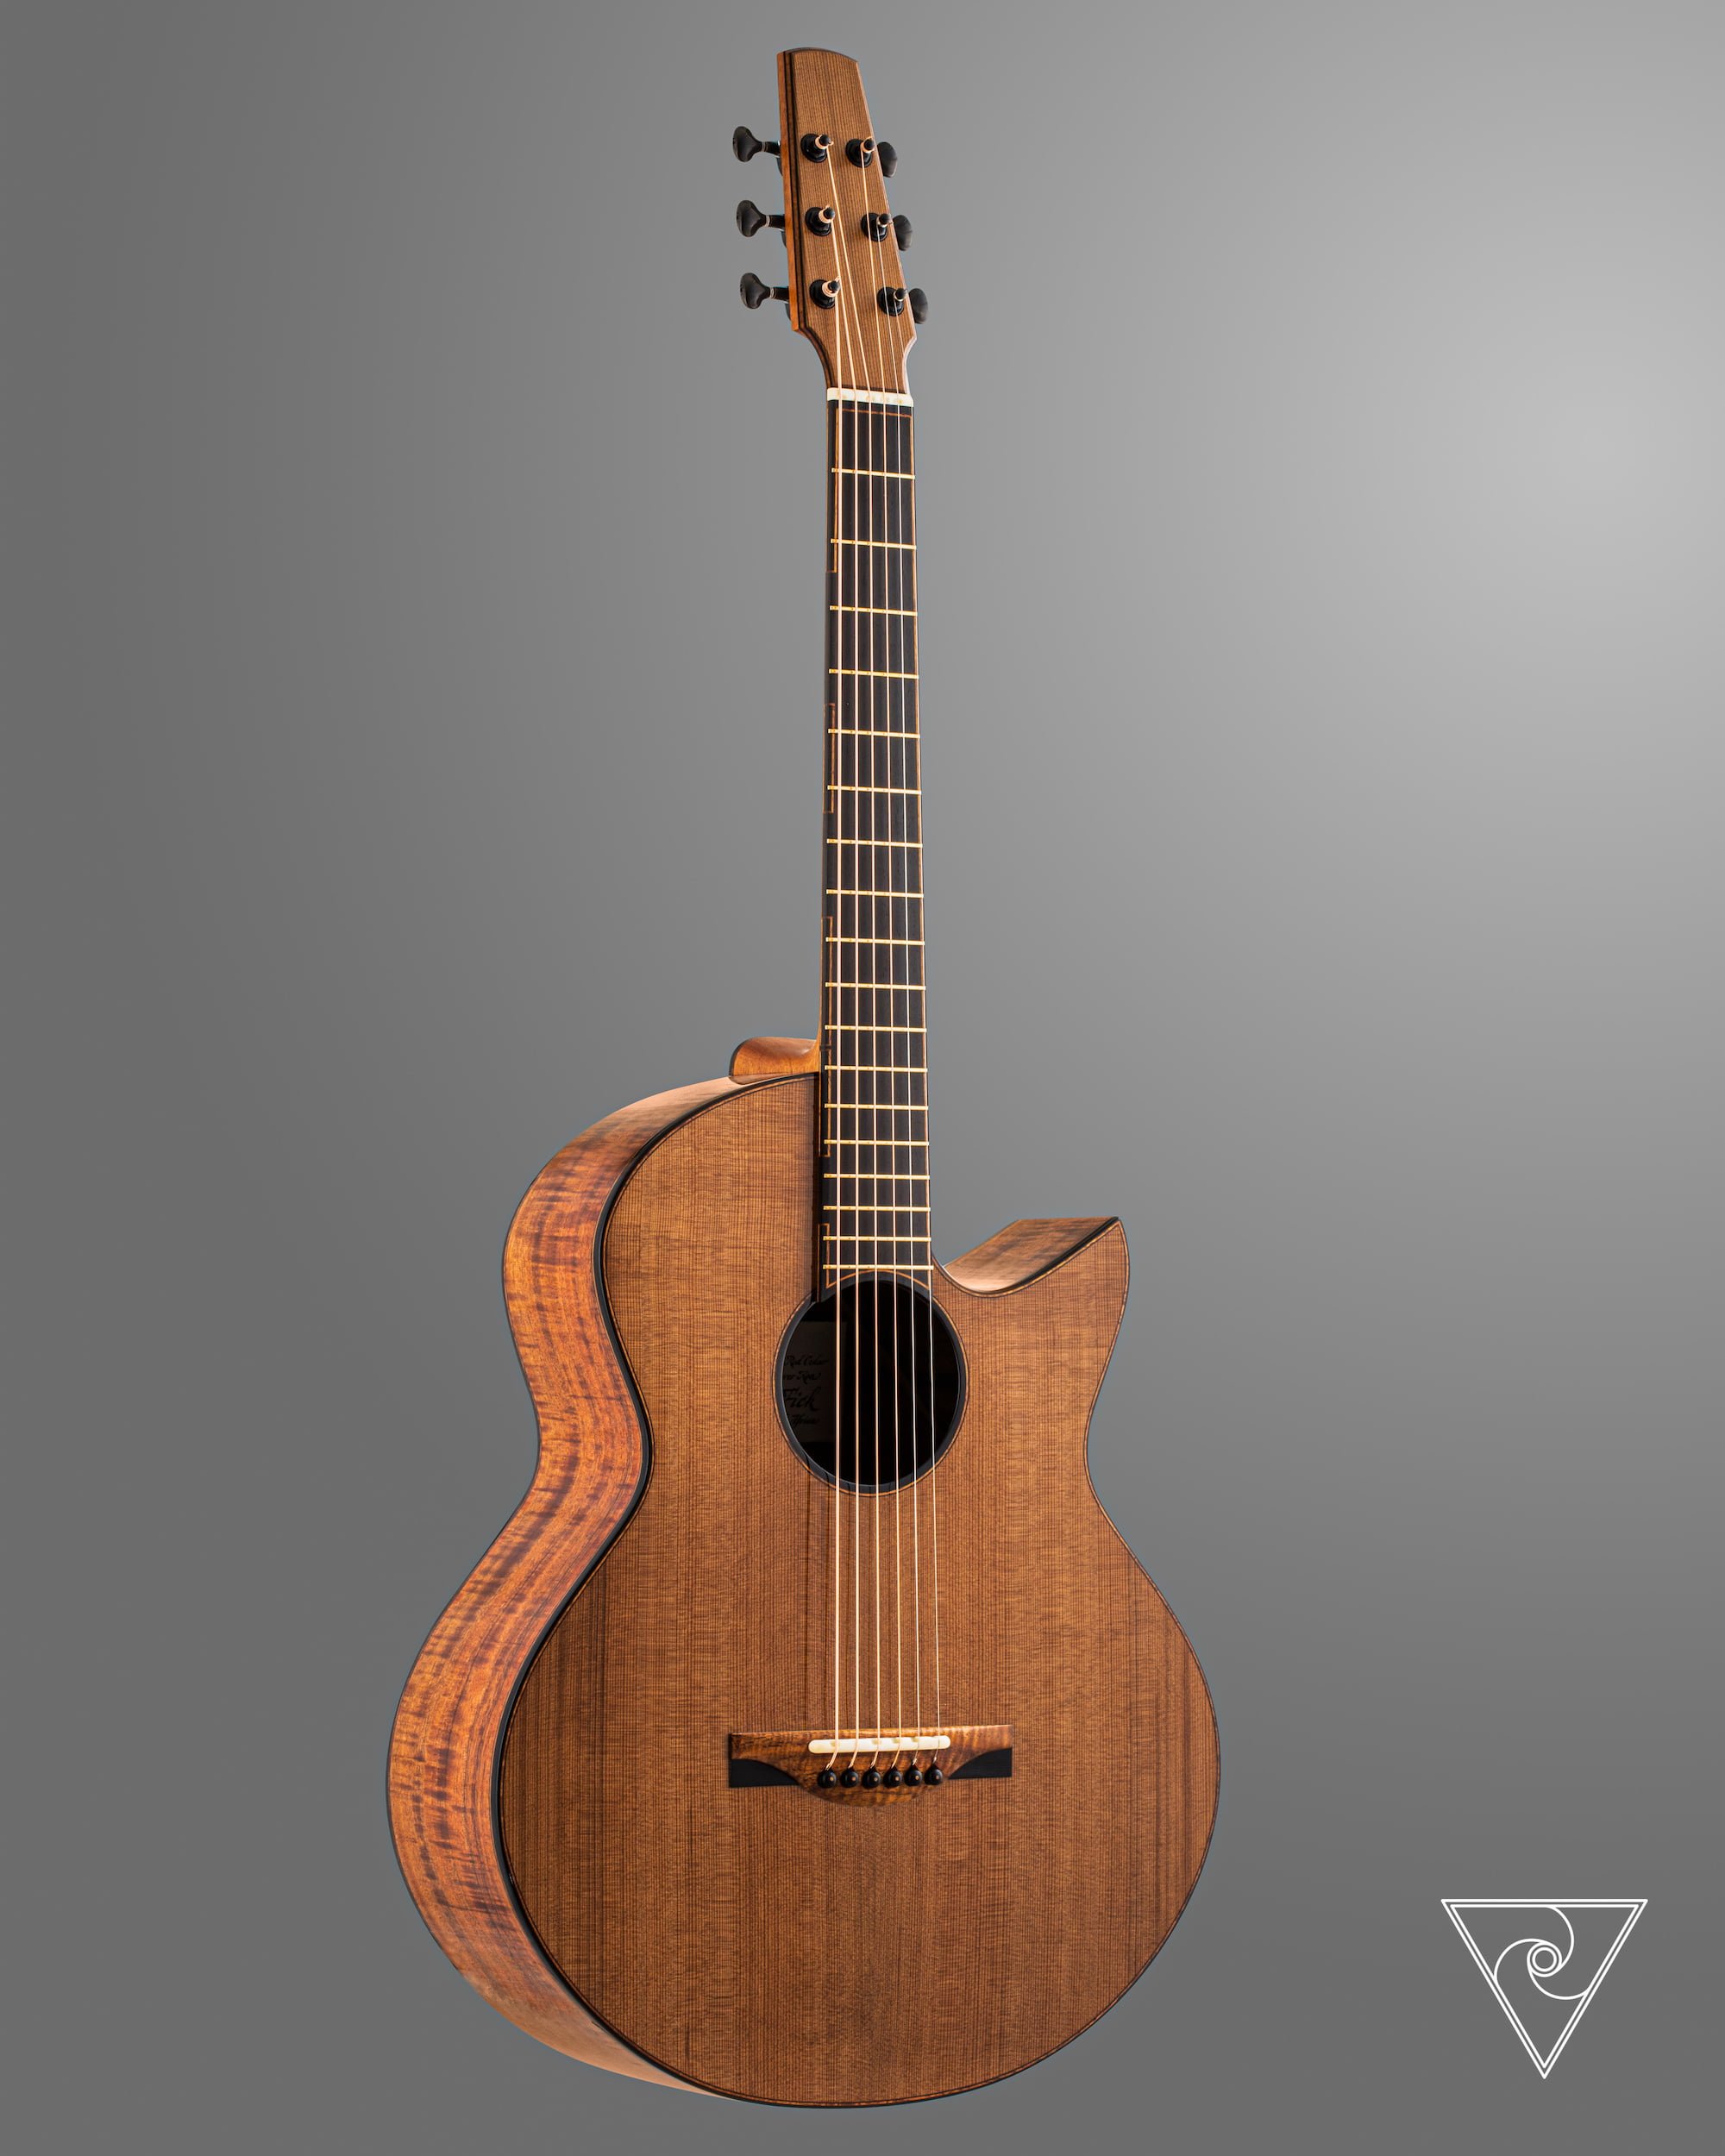
I think that my best work to date is the latest instrument I have finished, a torrefied Western Red Cedar and Hawaiian Koa guitar. It includes a variety of new structural design elements and really represents the direction that I am heading in with my work. There is still much refinement to be done, but the acoustic performance of this guitar is really interesting and exciting.


Question #4
Tobias: Which style of furniture do you enjoy building most?
Theunis: LOL! I can’t say that I have ever built a piece of furniture! I started making guitars and have stuck with them ever since. I would however, love to build myself a really decent workbench to replace the dining room table that I am working on at the moment!

Question #5
Tobias: Which are your favorite local lumber species and which are your favorite exotics to work with?
Theunis: There are so many incredible species available and as instrument makers, we have the privilege of working with the highest quality cuts of the most exceptional timbers, so I think that my favourite is whatever I happen to be working with at any particular point.
The material properties required for musical instruments, as well as the need for quarter-sawn pieces and the market’s demand for aesthetically striking timbers severely limits the use of locally sourced species. I would love to source more timbers locally, but instrument grade woods are extremely hard to find and are not widely available.
Expanding the scope to include the entire African continent, there are a number of species that are suitable, however we end up having to import the quality cuts of indigenous timbers from America and Europe, which is exceptionally frustrating.
In terms of these African species, Wenge is an exceptional tonewood, I tend to use it quite a lot and it’s one of the only species that is readily and locally available in decent quality. I also use African Mahogany quite extensively, although it is somewhat denser and as such is less desirable than Honduran Mahogany.
I have also built a couple of guitars using figured Anigre, which is a truly beautiful East African species and currently I am busy with a Kiaat guitar. Kiaat is a fantastic material for musical instruments – highly resonant with relatively low density, the same goes for Padauk, although I have not used it yet. I am also working on a Pomelle Sapele guitar which is aesthetically stunning and will become a beautiful instrument.
The holy grail of African tonewoods are the Rosewoods – African Blackwood and Bois de Rose in particular. They are unfortunately almost impossible to source and are generally prohibitively expensive.
In terms of exotics, I think my favourite is Hawaiian Koa. The range of colours and the beautiful figure in the highly flamed pieces used for instrument making are quite enchanting! I am also currently busy with a Fenland Black Oak (Bog Oak) guitar. It is a truly awesome thing to be working with 5,000 year old timber!


Question #6
Tobias: Can you list your favorite power tools and machines and tell us why?
Theunis: My most used machine is definitely my Holytek MS-25 double drum thickness sander. Almost every part of a guitar goes through it at some point for rough dimensioning and it is an absolutely indispensable machine for taking plates down to under 3mm, which is required for the tops, sides and backs of guitars.
My favourite machine is probably my Laguna 18|BX bandsaw. It is by far the nicest machine I have and it is wonderful for resawing guitar sets in-house.
I really don’t rely on power tools very much, but I’d say that my Festool shop vac has been a great addition (if vacuum cleaners count as power tools)!


Question #7
Tobias: Please list your most used hand tools and tell us why they are your “go-to” tools.
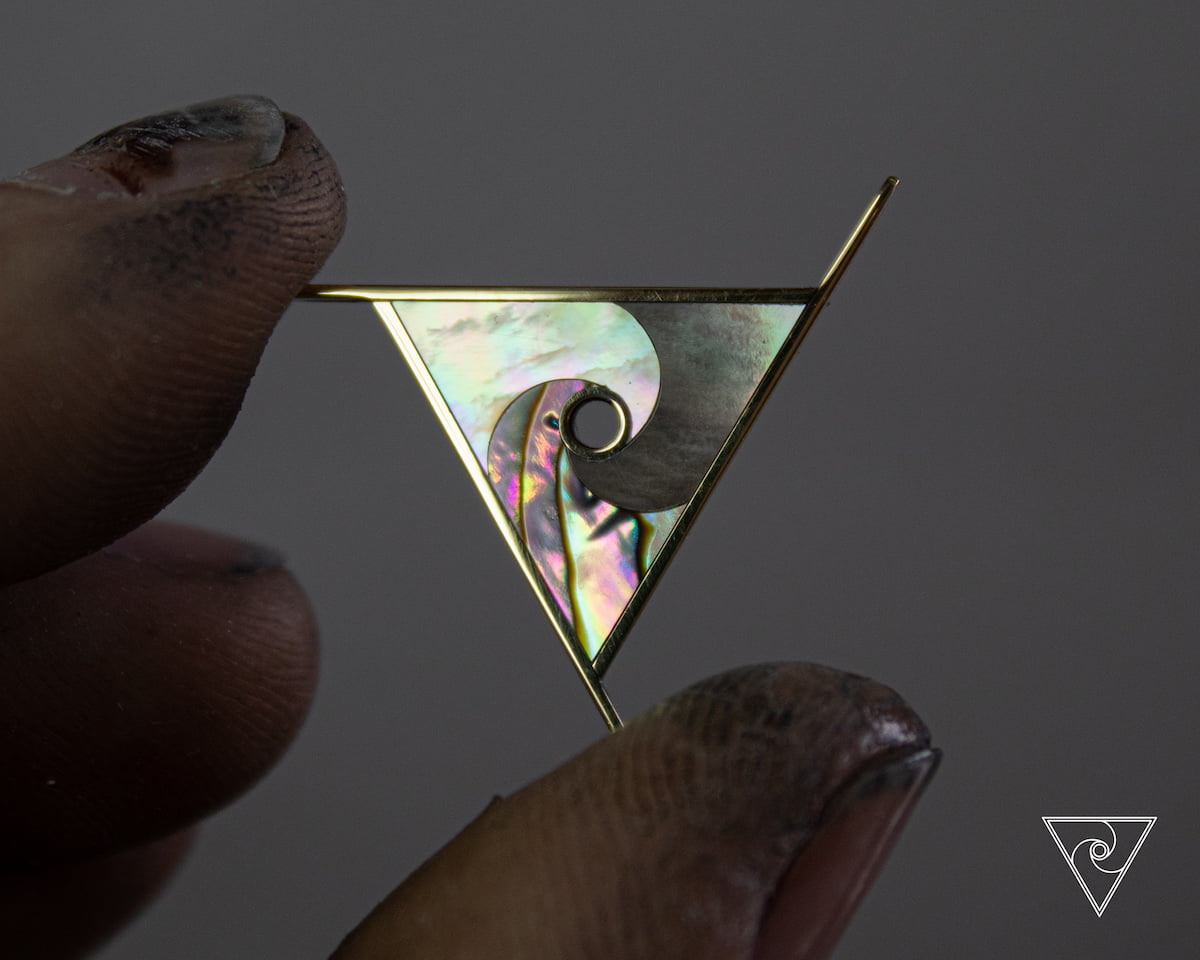
Theunis: My most used tool is definitely my 18mm Japanese paring chisel, it tends to be the first tool I reach for, almost irrespective of the job at hand. It’s well balanced, takes an incredibly fine edge and the long handle and short head make it easier for me to control compared to Western bench chisels. I use this chisel throughout the building process, from cutting mitre joints in inlays, to carving braces, shaping necks and a plethora of other tasks.
I also love my Lie-Nielsen No. 102 block plane, it’s incredibly versatile and extremely satisfying to use. It is just the right size for much of the work that I do.
My favourite category of hand tools is definitely measuring and marking tools! My most used measuring tool is a dial Vernier caliper, which has both a metric and imperial readout. Since the majority of guitar standards were established in the USA, there are quite a few parameters that are always measured in inches, so it is really nice to have a mechanical tool that does the conversions for you. At the moment, my most cherished (and used) marking tools are a little Starrett 50mm double square and a beautiful marking knife made locally by Andrew Lund of Woodlund Toolworks.


Question #8
Tobias: What is it about working with wood that you find most enjoyable?
Theunis: I think that it is the freedom of being able to materialise anything you can visualise, your only limitations are your imagination, skill and patience – all that can be improved over time! There is an immense amount of gratification in seeing your time and effort turn into a physical object, something that we don’t always get to experience in today’s digital world.
I suppose that these things are true of any craft, irrespective of the material used. As opposed to some other mediums like meatls or ceramics, working with wood leaves me in constant awe of nature and the incredible diversity of wonderful materials it produces.
Question #9
Tobias: What type of workshop do you have and how has it evolved over time and why?
Theunis: I recently set up my first workshop, which comprises three rooms. The main space is about 50 square metres and has a serious amount of work surfaces. All of these surfaces have dovetail tracks machined into them to work efficiently with Micro Jig’s MatchFit system, which makes the space remarkably versatile. This is where I spend most of my time, primarily doing hand tool work. This area is also where I teach classes on weekends, so the large space really comes in handy.
My machine room is rather cramped at 17 square metres and it has a fairly complete set of machines for processing, dimensioning and shaping lumber.
Finally, there is a 9 square metre humidity-controlled room. This room is kept at 45% relative humidity and is where I store all of my timber and parts and is also where I perform all of my glue-ups. Since guitars are made with such thin material (a typical guitar top is around 2.5mm thick), it is critical to keep all of the components at a consistent, middle of the range humidity level. Guitars that are built at high humidity tend to crack and fall apart when exposed to low humidity. If the components are glued up with varying humidity levels, the instrument will expand and contract inconsistently, which can also lead to parts and glue joints failing.


Question #10
Tobias: What is your clamp line-up and why?
Theunis: I don’t really do much heavy-duty clamping. My most used clamps are wooden cam clamps and I have them in a variety of sizes. They are very quick to deploy and remove, and they apply the correct pressure for most instrument making tasks. I have some Jorgensen trigger clamps that I use a lot. These are also reasonbly light duty, but are very convenient and easy to use single-handed.
I have made the Micro Jig MatchFit system a large part of my overall setup, so I try to find ways to use it efficiently wherever I can. I have not yet delved into the making of jigs and fixtures based around the system, however I think that the potential of the system is very exciting.
A clamping system that is essential to my work is called “Go-Bars”. This system is rather specific to lutherie and I don’t think that it has much use in general woodworking. Go-bars are flexible sticks that can be made from a wide variety of timbers, though I use fibreglass rods in my setup. These bars work in conjunction with a go-bar “deck” or station, which is essentially a table with a shelf directly overhead. The distance between the table and the shelf is smaller than the go-bar lengths, so the go bars need to be bent in order to fit into the gap. In this flexed state, the go-bar exerts vertical pressure in the shelf and the table. By placing a workpiece on the table, vertical clamping pressure can be efficiently applied to the work. I use this system to clamp braces onto soundboards. The soundboard plate is placed in a concave radius dish (caul) on the clamping table and the go-bars are used clamp the pre-radiused brace wood onto the plate to force the dome into the soundboard. Once the glue cures, the plate then maintains this domed shape.


Question #11
Tobias: Which adhesives and glues do you use and why?
Theunis: The majority of my glue-ups are executed with Titebond Original. It has become the industry standard for guitar makers, although many swear by hot hide glue, which is something I hope to switch to in the future. Titebond is great because it has excellent mechanical properties and is easier to use than hide glue, although hide glue is very easy to clean up, does not leave residue witness marks and is reversible if any parts ever need to be removed or replaced during future repair work.
The sides of my guitars are a three-layer lamination and I use Balcotan for that. Titebond Original contains too much water to be used for the laminations and Balcotan is infinitely more convenient to use than two-part epoxies.
There are some glue-ups where expoxy is applicable, such as large glue surfaces like fretboards and bridge patches, where the water content in Tiutebond Original can cause the parts to swell and warp, or create internal stresses. I also use epoxy for gluing the headblock of the guitar to the rim because there is quite a bit of end grain in the gluing surface. I have been using a Sicomin product that was developed for use in surfboards.
Finally, cyanoacrylate adhesive is indispensable! It’s not the glue of choice for anything in particular, but it frequently saves the day when things that shouldn’t chip or crack…decide to do just that! I do try to keep CA adhesive far away from Spruce and other light-coloured woods as possible, since it sucks into the end grain and turns green – an easy way to irreversibly ruin any project. This “green” problem might well be due to the formulation of the specific brand that I have been using and I will be trying some others soon.
Question #12
Tobias: Which woods (local & exotic) have you not yet used and why are you interested in building with these species?
Theunis: There is a long list of woods that I would love to work with. African Blackwood is high on the list, it is such a beautiful and special material. I only have enough of it for one guitar and I am unlikely to find more of it, so I will probably hang onto it for a while until a special project presents itself. I would love to get my hands on some Brazilian Rosewood, widely regarded as being the king of all tonewoods…just to find out what all the fuss is about! I doubt however, that I will ever be able to source any high quality guitar sets in this species.
I am really intruiged by the possibilities of Padauk, as it has very desirable acoustic material properties. I don’t find its appearance to be very agreeable though, so any exploration in this direction with have to be coupled with some experimentation into ebonising or otherwise modifying its colour.
As I mentioned earlier, my favourite wood often tends to be whatever I happen to be working with at the time. There is such an incredible variety of wonderful species out there, I am always excited to try as many of them as I possibly can!


Question #13
Tobias: What and whom are the sources of inspiration for your craft?
Theunis: There are a number of incredibly gifted guitar makers who continually inspire me to explore new designs and push my knowledge and craft further. The builders who have had the greatest impact on me are definitely the great teachers I’ve had, Matthias Roux and Matthew Rice at Casimi Guitars, and Sam Guidry at the Galloup School of Lutherie.
I have a keen interest in the actual physics of the guitar and in this regard, Sam Guidry and G.R. Bear are constant inspirations for their ability to combine the craft and science of guitar making to produce some truly exceptional instruments.
Question #14
Tobias: How do you design your guitars? Do you use CAD or SketchUp? Do you sketch out by hand?
Theunis: My designs always start out on paper at 1:1 scale. The functional parameters and constraints are first plotted, things like scale length, overall body dimensions, bridge placement and so forth. From this stage onwards, I typically rely on the Golden Ratio to identify inflection points on the curves of the guitar body and then connect these with fair curves. This generally takes a lot of trial and error to avoid flat spots and bumps. I then leave the final design stuck to a wall in my home or workshop for a few weeks and make alterations whenever I notice something that bothers me.
Once I feel satisfied with the design , I scan it and import it into CAD. The next step is finalising the design by plotting in the key dimensions accurately and tracing the sketch using splines with minimal control points to ensure that they are fair. I then send the CAD files to a CNC shop to make the moulds and templates that will guide me in the construction process.


Question #15
Tobias: What are you finishing regimes, which products do you use and which are your favorite processes?
Theunis: I seal the inside of the guitar with shellac, either brushed on or sprayed, depending on the equipment I have available. The goal here is not to achieve a high-quality finish, it is only to protect the instrument from humidity changes. All parts are sanded to at least P220 before sealing.
For the outside of the body, I employ a catalysed polyurathane by BASF called Glasurit which was developed for the automotive industry. It’s much more durable than traditional guitar finishes such as shellac and nitrocellulose lacquer, and its also less likely to craze and crack over time. When it’s applied extremely thinly (target thickness rage: 0.05mm – 0.15mm), it has a negligible effect on the acoustic performance of the instrument. However, due to its density it is very easy to apply too much and kill the tone of the guitar.
The body is sanded to P220 in preparation for finishing. After applying a washcoat of polyurethane, I apply a very thin layer of UV stable, clear epoxy to fill the pores on the back and sides of the guitar, unless the specific timber does not require this process. Once the epoxy is levelled with P320 sandpaper, the final coats of polyurethane are applied, generally in two sessions with P320 flat sanding in between.
The guitar is then wet sanded up to P2000, after which it’s buffed using a buffing arbor and fine polishing compound. When it all goes to plan, the result is an extremely thin, perfectly flat, mirror-like finish, which generally sinks into the grain of the wood slightly over time.
I recently started using Osmo PolyX-Oil to finish the necks of the guitars. It’s vastly less stressful and time consuming than finishing the necks in the same way as the bodies, which is the process that I had previously employed. It also has a much nicer feel for the player, although time will tell how durable it is under constant friction and contact with sweaty hands. In preparation for oiling, the neck is sanded up to P320, with P400 often being required in some areas with a lot of end-grain content. I start with a coat of the extra thin Osmo Wood Wax Finish (1101 Clear Satin). This oil penetrates more evenly into the various woods that comprise the guitar neck, especially the very dense woods like Ebony. I follow this up with two coats of Osmo PolyX-Oil (3031 Clear Matt), and scuff things flat using maroon Scotchbrite pads in between the coats.
I apply the oil using lint-free paper towels which are manufactured for the aerospace industry, instead of the grit-free white Scotchbrite pads. The product I’m using is called Sontara Aerospace Grade Wipes, Style K802, though there are alternatives made by WypAll for the medical industry, which are probably much the same. I love these wipes! I bought them for applying Osmo, but have ended up using them for a variety of tasks. They make great glue rags since they don’t leave fibres behind on the work, they are also pretty good for use as disposable tampon covers for French polishing.


Question #16
Tobias: Which parts of working with wood do you dislike the most?
Theunis: Definitely finishing! Switching to Osmo for the necks has been a major stress reliever, but achieving a professional, thin finish with catalysed polyurethane is a constant struggle. The main issue with it is that it does not fuse chemically with preceding layers, as it relies on a mechanical bond. So, any sand-throughs remain visible in the form of witness lines in the final finish.
With the finish being applied in such thin layers, by necessity, it is extremely easy to sand through at any point, including final wet sanding with very fine sandpaper. It’s also easy to accidentally burn through the finish while buffing. The only proper solution is to strip the finish and start again. It’s always a bad day when that happens.


Question #17
Tobias: Which music do you enjoy listening to whilst working in your shop?
Theunis: Earlier, I mentioned my love of 1920’s blues music and this extends to most American folk music of the period, there is so much depth and variety. It’s generally not very high-energy music, so I often listen to some later era, electrified music that’s heavily influenced by that early stuff when I need to get a lot done. I also love West African music, there’s both extremely tranquil and very high energy varieties which are great. I prefer instrumental music when I need to focus on precision work.
I tend to listen to a lot of podcasts, mainly true-crime stuff, but that may not be the healthiest habit. Lately I’ve started listening to audiobooks while I work, too, it’s really nice to absorb some intellectual stimulation while I’m making wood chips.
Question #18
Tobias: What is you tool sharpening regime?
Theunis: When an edge is badly chipped, I start on a coarse or extra coarse diamond plate. I always use a honing guide, though I haven’t found one that does it all. The Veritas guide is very fiddly and doesn’t do the best job of holding some blades square and secure, and the Lie-Nielsen guide doesn’t fit many of the Japanese chisels I use.
Once the rough work is done on the diamond plate, I switch to waterstones, starting at 1000 grit, followed by 6000 grit and finishing on 8000 grit. I much prefer waterstones over diamond plates, they seem to cut more efficiently, or maybe I just prefer the sound they make! I finish off by stropping on a piece of MDF with Autosol compound on it. I prefer this over leather, since it’s a flat surface that doesn’t roll the edges of the tool.
Once a tool is set up, I’ll periodically strop it on the MDF, or do some honing on the 6000 and 8000 grits if the edge has started to roll a bit. I try to maintain the edges rather than allowing them to reach the point where the entire process needs to be repeated.

Question #19
Tobias: What custom jigs or tools have you developed for your woodworking?
Theunis: I have more jigs than I care to list here, almost every step of the guitar-building process is made more efficient and repeatable by the use of some manner of jig or fixture.
An unusual jig that stands out is used to cut intonation notches on the bone nuts and saddles of the guitar. It comprises a base with a radiused surface, matching the arc of the fretboard and strings, onto which the nut or saddle is fixed using double-sided tape. A Dremel tool with a ball-nose end mill bit is mounted in a customised base, which has a dial gauge mounted on it to set the protrusion on the bit into the material to 0.01mm accuracy. The lateral movement of the Dremel is constrained by a rail on each side of the Dremel base. The resulting nuts and saddles have very precise intonation notches, which follow the arc of the strings.
I’ve made a couple of hand tools, but only because of supply chain issues with the pandemic. One is a simple aluminium and Ebony handle for the Woodpecker Mini Scraper blades, and the other is a veneer/stringing thicknesser, which is working pretty well and was very simple to make.


Question #20
Tobias: What is the next piece you are going to build and why?
Theunis: At the moment all my attention is focused on the three guitars I have on the bench, which are still at a fairly early stage in the process. Two of these are going to an American dealer which recently signed me, so I’m hoping to deliver something that will elevate my career to the next level. After that, many more guitars, hopefully.

Tool Wishlist
- Lie-Nielsen Toolworks No. 5-1/2 Bench Plane
- Lie-Nielsen Toolworks No. 7 Bench Plane
- Lie-Nielsen Toolworks No. 60-1/2 Block Plane
- A honing guide that actually works on all of my chisels and plane irons.
Lumber Wishlist
- Brazilian Rosewood
- Bubinga
- Figured Padauk
- Figured Kiaat
- Fiddleback Honduran Mahogany
- Flamed Australian Blackwood
- Ringed Gidgee
- Paulownia
Makers with whom I would love to spend quality time
- G.R. Bear
- Sam Guidry
- Trevor Gore
- Michihiro Matsuda
- Burton LeGeyt
- Joel Michaud
Links
- Website: www.theunisfickguitars
- Youtube: Theunis Fick Guitars
- Instagram: theunisfick_guitars